35 Regular Listings
Your website supports property and service listings—a way to showcase items for sale or rent with full details, images, pricing, and customer inquiries. This guide shows you how to enable, create, and manage listings on your site. It explains how listings work end-to-end, how admins manage them, how leads are captured, and how Listing Index/Detail pages tie together.
Whether you're running a real estate business, rental service, classifieds platform, or any business that needs to list products or properties, this listings feature has you covered.
How It Works: The Big Picture
Here's what happens when you set up listings:
1. You create listings with titles, descriptions, prices, and images in your admin panel
2. Visitors browse listings on your public site through a searchable index page
3. Visitors view details and can:
- Inquire about a listing (generates a Lead you can follow up on)
- Schedule a viewing appointment (if enabled via Book Viewing button)
- Pay fees or deposits online (if enabled via Pay Fee button)
4. You manage everything from your admin dashboard
Part 1: Enable the Listings Feature
By default, listings are turned off. You need to enable them first.
Step 1: Access WaaS Settings
1. Go to Site's Admin (usually at `yourdomain.com/admin/`)
2. Click Settings in the left sidebar menu
3. Select WaaS Settings
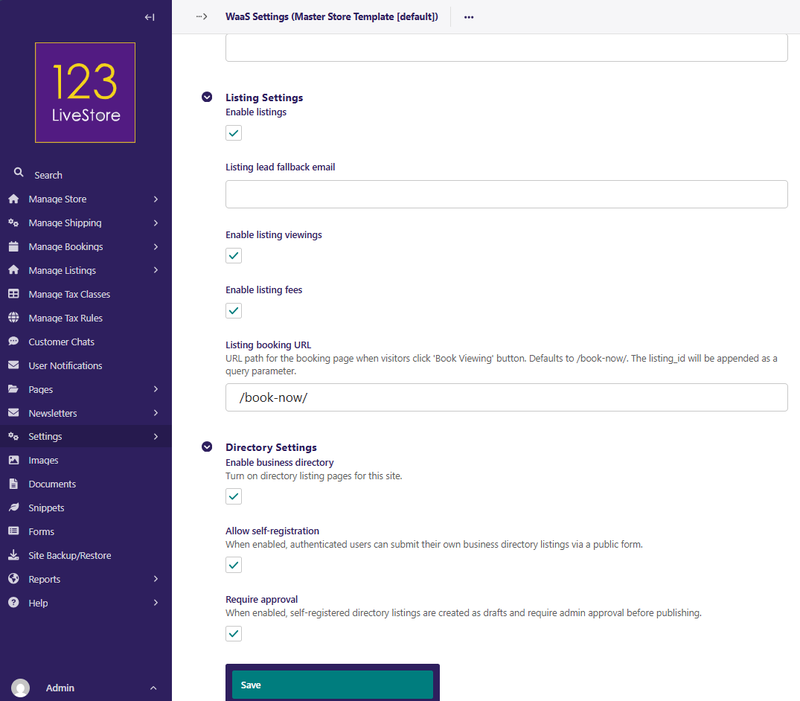
4. Find the Listing Settings section
Step 2: Turn On Listings
1. Check the box next to Enable Listings (`enable_listings`)
2. Scroll to the bottom and click Save
That's it! Listings are now enabled on your site.
Note: You must create a Listing Index Page (see Part 2) for listings to appear publicly. Just enabling the feature isn't enough.
Part 2: Create Your Listing Index Page
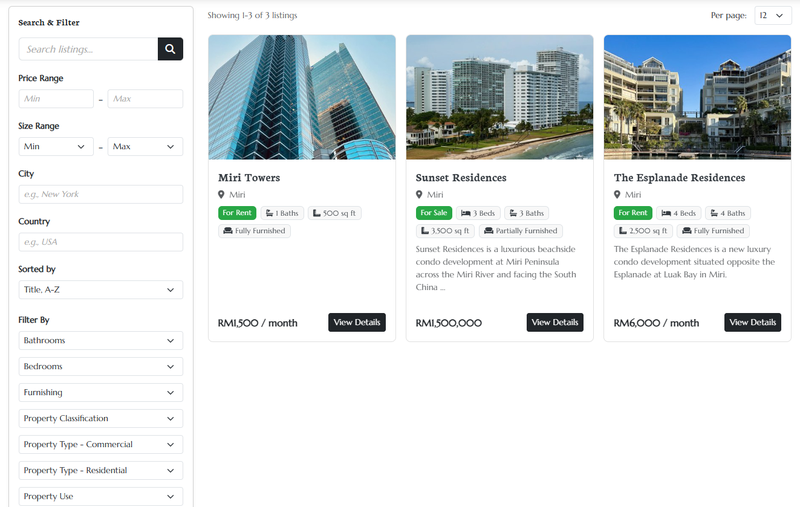
Visitors discover listings by visiting your Listing Index Page. This is the main "browse" page that shows all your active listings.
Step 1: Create a Listing Index Page
1. Go to Site Admin → Pages
2. Find the page where you want the listings to appear (e.g., your home page or a "Browse" section)
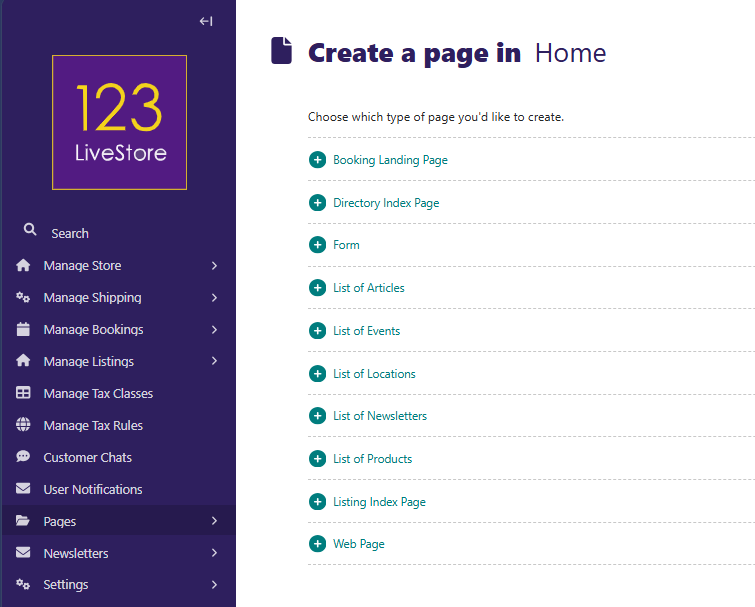
3. Click Add child page
4. Select Listing Index Page
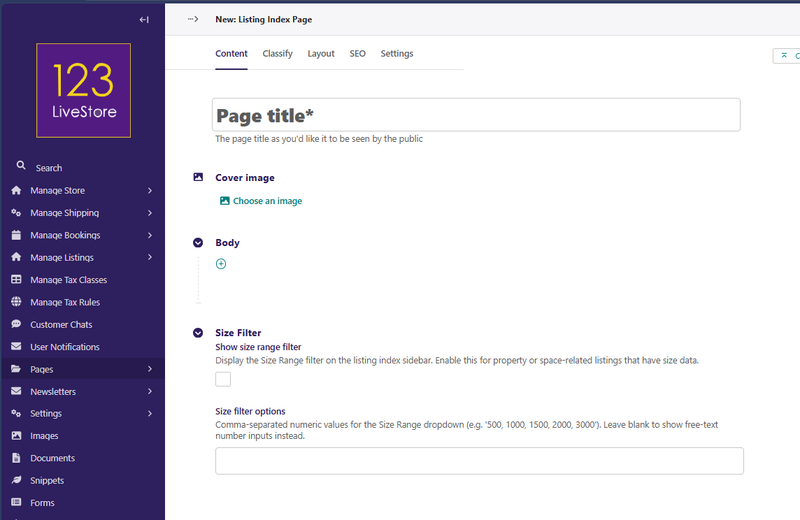
5. Fill in:
- Page title: e.g., "Browse Properties", "Our Listings", "Available Units"
Step 2: Customise Filters (Optional)
On the same page editor, you'll see a Size Filter section. This is useful for properties or spaces where size matters:
1. Check Show size range filter if you want visitors to filter by size (e.g., square feet, acreage)
2. In Size filter options, enter comma-separated values like: 500, 1000, 1500, 2000, 3000 for the Size Range dropdown. Leave blank to show free-txt number inouts instead.
- This creates preset buttons so visitors can quickly filter by size ranges
- Leave blank if you don't want this filter
3. Click Save Draft and/or Publish
Step 3: Set SEO & Verify the Page Is Live
1. Click SEO: tab and enter the slug e.g., `browse-properties` or `listings` (this becomes part of the URL)
2. Click Save Draft and/or Publish

3. Visit your website
4. Navigate to the page you just created (e.g., `/browse-properties/`)
5. You should see a message like "No listings yet" or an empty grid
- This is normal! You haven't created any listings yet.
Part 3: Create Your First Listing
Step 1: Create the Listing Detail Page
Now you'll create the actual listing. Each listing is represented by a Listing Detail Page.
1. Go to Site Admin → Pages
2. Click on the Listing Index Page you just created
3. Click Add child page
4. Select Listing Detail Page
5. Fill in the basic details:
- Page title: e.g., "Modern Apartment in Downtown" (this becomes the listing title)
- SEO/slug: e.g., `modern-apartment-downtown` (auto-generated from title, but you can customize)
6. Click Save Draft (don't publish yet)
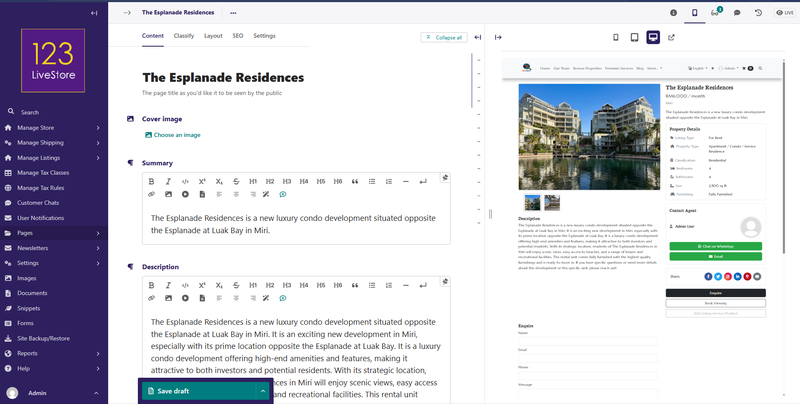
Step 2: Fill in Listing Details
After saving, you'll see more fields. Complete them:
Basic Information
- Summary: A short description (1-2 sentences) that appears in the listing card on the browse page
- Example: "Spacious 3-bedroom apartment with modern amenities and city views"
- Description: Full details about the listing (use the rich text editor to add formatting)
- Include details like: condition, amenities, features, specifications, etc.
- Status: Choose from:
- Active: Listing is visible to the public
- Pending Review: Listing is not visible to the public
- Sold: Listing has already been sold
- Off Market: Listing is no longer available
- Inactive: Listing exists but is hidden from the public (useful for "sold" or "no longer available")
Pricing
- Price Display: The price shown to visitors (e.g., "RM 450,000" or "RM 2,500/month")
- Example: `450,000` or `2,500`
- Price Exact: The actual numeric price used for filtering and calculations
- Example: `450000` or `2500`
- Currency: Secifyp the appropriate currency (e.g., MYR, USD, GBP)
Location
- Location Name: Simple location for display (e.g., "Kuala Lumpur", "Downtown")
- Address: Full address
- Latitude & Longitude: Optional GPS coordinates (used for maps if enabled)
Contact Information
- Agent: Who's handling this listing? (select your user or another staff member)
- Contact Name: The person interested parties should ask for
- Contact Email: Email for inquiries
- Contact Phone: Phone number for inquiries
Media
- Main Image: The "hero" image that appears on the browse page and at the top of the listing detail
- Should be high-quality, representative image (e.g., front of property)
Step 3: Add Categories/Classifiers (Optional)
Some sites let visitors filter listings by type (e.g., "Apartment", "House", "Townhouse"). If your site has these categories set up:
1. Click the Classify tab
2. Check the boxes for classifier terms that apply to this listing
- Example: Check "3-Bedroom" and "Modern" if the listing is modern and has 3 bedrooms
Step 4: Publish the Listing
1. Choose the Publish option:
- Publish: Listing goes live immediately
2. Click Publish
The listing now appears on your Listing Index Page!
Part 4: Manage Your Listings
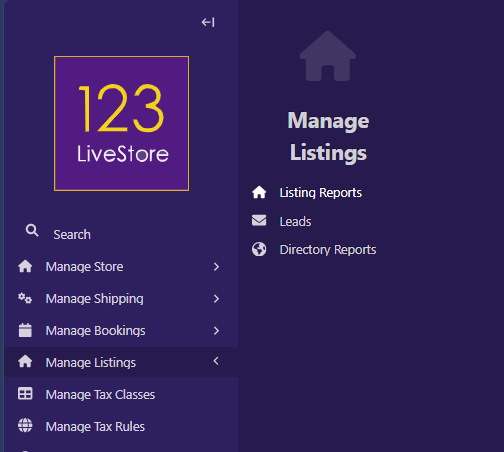
View All Your Listings
Go to Site Admin → Manage Listings → Listing Reports
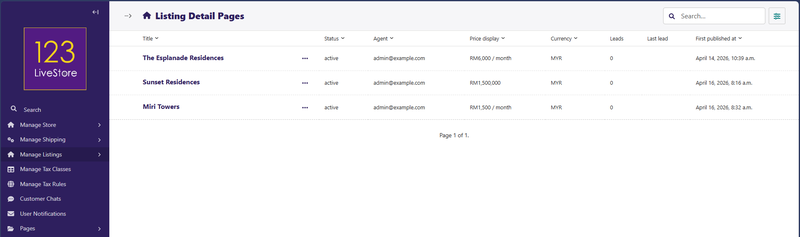
You'll see a read-only dashboard showing:
- Listing title and current status
- Agent assigned
- Price and currency
- How many leads this listing has generated
- The date of the most recent inquiry
Use this to track which listings are getting the most attention.
Update a Listing
1. Go to Site Admin → Pages
2. Find the listing in the page tree (it's a child of your Listing Index Page)
3. Click on it to edit
4. Make your changes
5. Click Save Draft or Publish
Mark a Listing as Sold or Inactive
1. Edit the listing
2. Change Status from "Active" to "Inactive"
3. Click Save draft or Publish
The listing disappears from the public browse page but remains in your admin for historical records.
Delete a Listing
1. Go to Site Admin → Pages
2. Find the listing
3. Click the More menu (three dots) and select Delete
4. Confirm the deletion
Part 5: Manage Customer Inquiries (Leads)
When visitors fill out the "Inquire" form on a listing detail page, a Lead is created. You can review and follow up on these leads.
View All Leads
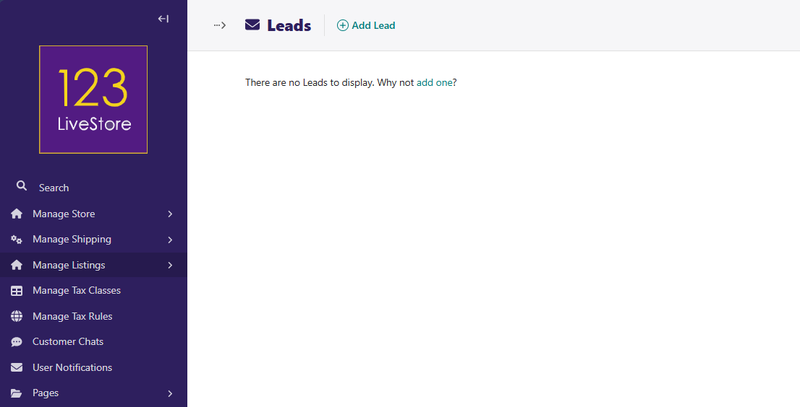
1. Go to Site Admi* → Manage Listings → Leads
2. You'll see a list of all inquiries with:
- Visitor's name and contact information
- Which listing they inquired about
- Their message/notes
- When they submitted the inquiry
- Current status (New, Contacted, Converted, Archived)
Update Lead Status
Use the Status field to track your follow-up:
- New: Just arrived, haven't contacted yet
- Contacted: You've reached out to the visitor
- Converted: They moved forward (bought, rented, booked, etc.)
- Archived: Old or no longer relevant
Add Follow-up Notes
1. Open the lead record
2. Scroll to Follow Up Notes
3. Add your notes (e.g., "Emailed quote", "Scheduled viewing for Jan 15")
4. Click Save
This helps you and your team stay organized and remember what you've already communicated.
Delete Old Leads
If a lead is very old or no longer relevant:
1. Open the lead record
2. Click Delete
3. Confirm
Part 6: Enable Advanced Features
Your listings can do more than just display information. You can enable visitors to book viewings or pay fees directly from the listing page.
Feature 1: Book Viewing Button
Allow visitors to schedule property viewings or appointments directly from your listing.
Prerequisites
1. Bookings must be enabled on your site (separate feature)
2. Booking services must be created (e.g., "Property Viewing" service)
Enable Book Viewing
By default, Book Viewing appears automatically on all active listing detail pages (when bookings are enabled).
To disable it for a specific listing:
1. Edit the listing detail page
2. Scroll to the Attributes section (usually at the bottom)
3. Paste this JSON code:
```json
{
"bookings_enabled": false
}
```
4. Click **Save**
Now this listing won't show the Book Viewing button.
How It Works for Visitors
1. Visitor views your listing at e.g., `/browse-properties/modern-apartment/`
2. Clicks Book Viewing button
3. Gets taken to your booking page (default: `/book-now/?listing_id=123`)
4. Selects an available time slot
5. Completes the booking form with their contact details
6. You receive a booking notification
7. You manage the booking in your booking dashboard
Feature 2: Pay Fee Button
Allow visitors to pay for inspection fees, application fees, holding deposits, or other listing-related payments.
Step 1: Create Fee Products
First, create the products (fees) visitors can pay:
1. Go to Site Admin → Pages and find your Product Index Page (under Store)
2. Click Add child page
3. Select Product Page
4. Fill in:
- Page title: e.g., "Property Inspection Fee", "Application Fee", "Holding Deposit"
- Item Type: Select Intangible (no shipping)
5. Click Save
Step 2: Add Product Variants with Pricing
1. Scroll to Product Variants section
2. Click Add variant
3. Fill in:
- Variant name: e.g., "Standard" or leave blank
- Price: e.g., `500` for RM 500
- Currency: Select the currency
4. Click Add variant again if you need multiple pricing options
5. Click Save and Publish
| Product | Price | Purpose |
|---|---|---|
| Property Inspection Fee | RM 500 | Buyer covers inspection cost |
| Application Fee | RM 200 | Processing fee for applications |
| Holding Deposit | RM 1,000 | Reserves property while paperwork is processed |
Step 3: Assign Fee Products to a Listing
1. Edit a Listing Detail Page
2. Scroll to Fee Products section
3. Check the boxes for the fees this listing should offer
- Example: Check both "Inspection Fee" and "Application Fee"
4. Click Save and Publish
Step 4: How It Works for Visitors
If you assigned ONE fee product:
- Visitor sees a Pay Fee button
- Clicking it adds the fee to their cart
- They proceed to checkout to pay
If you assigned MULTIPLE fee products:
- Visitor sees a Pay Fee dropdown button
- Clicking shows a menu of available fees
- They select which fee(s) they want to pay
- Selected fee is added to their cart
What You See in Orders
In your store orders, you'll see:
- The fee product (e.g., "Property Inspection Fee")
- A note about which listing it's for (e.g., "For listing: Modern Apartment Downtown")
- The amount paid
- Customer contact information