39 Newsletters
The Newsletters feature allows the site admin to create and send newsletter campaigns for individual content pages. It comes with a Mailchimp backend out of the box, including support for MJML to render email-compatible HTML.
The Newsletters menu option opens another sidebar to reveal 2 sub-menu options as shown below:

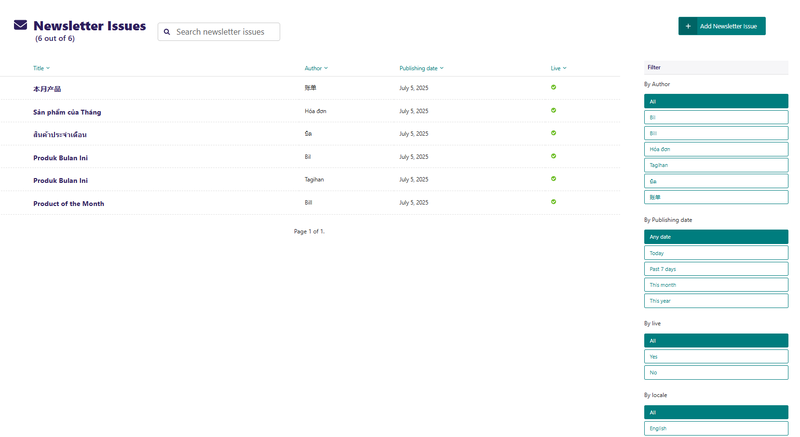
Newsletter Issues - list all newsletters you have published. The list can be filtered using the filters on the right sidebar, including Author, Publishing date, Live status, and Locale.
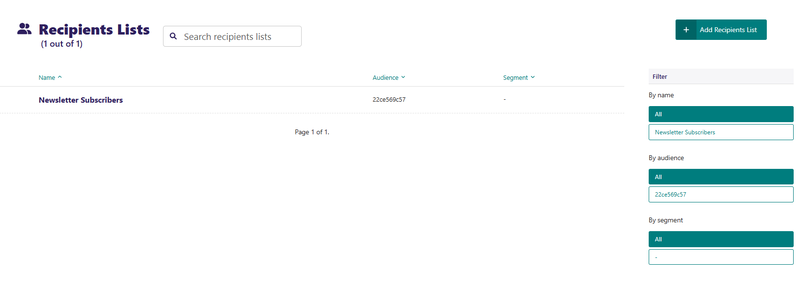
Recipients List - list of recipients for your newsletters.
Similarly, the recipients list can also be filtered by Name, Audience, and Segment.
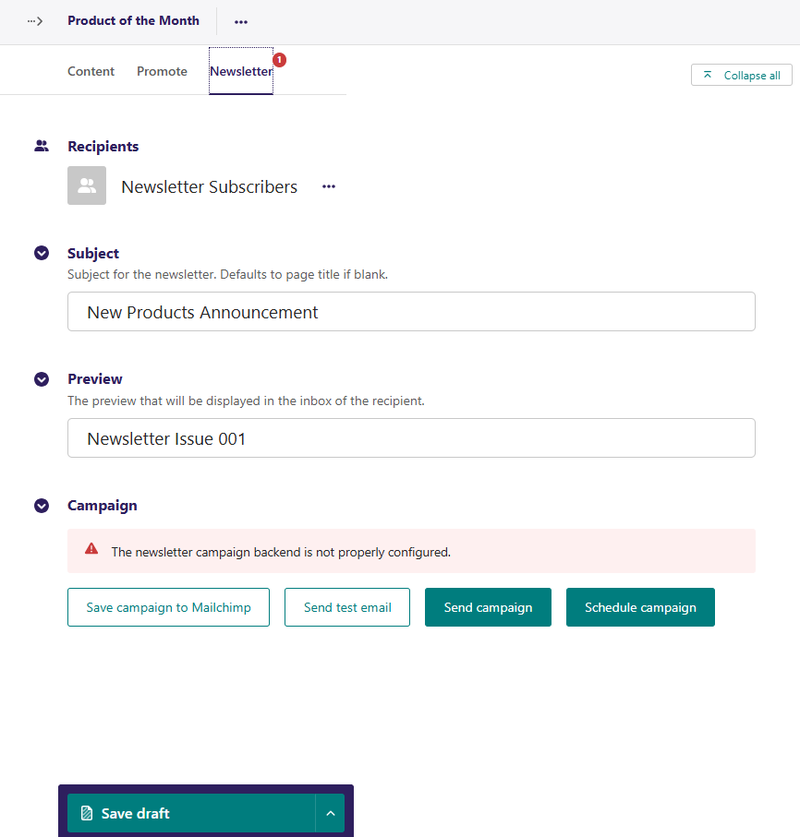
Before you can configure recipients for your newsletters, go to the site admin and click on Settings, then Branding & APIs, and under API Keys, make sure all Mailchimp-related settings are properly configured; otherwise, you may see an error alert as shown below:
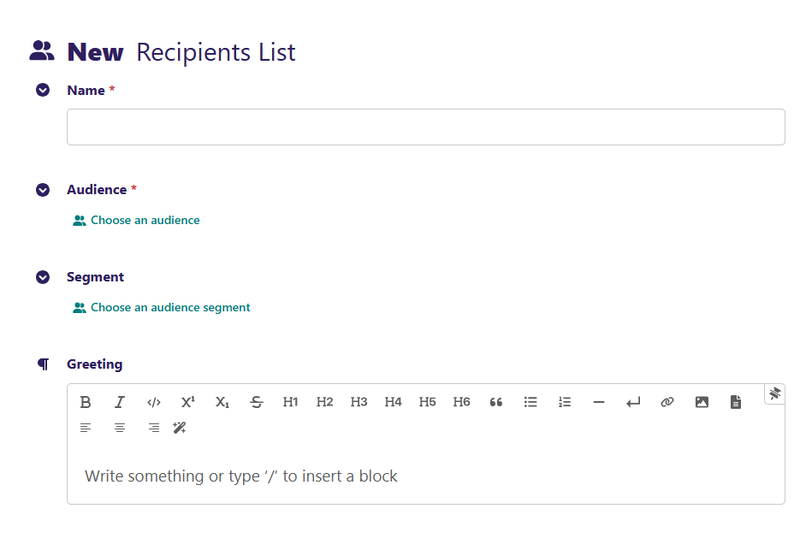
On the Recipients List page, click Add Recipients List to create a new recipients record. Give it a descriptive name, select an audience from Mailchimp, optionally an audience segment, and optionally a greeting, and then click Save.
On the Newsletters option page, click Add Newsletter Issue to create a new newsletter.
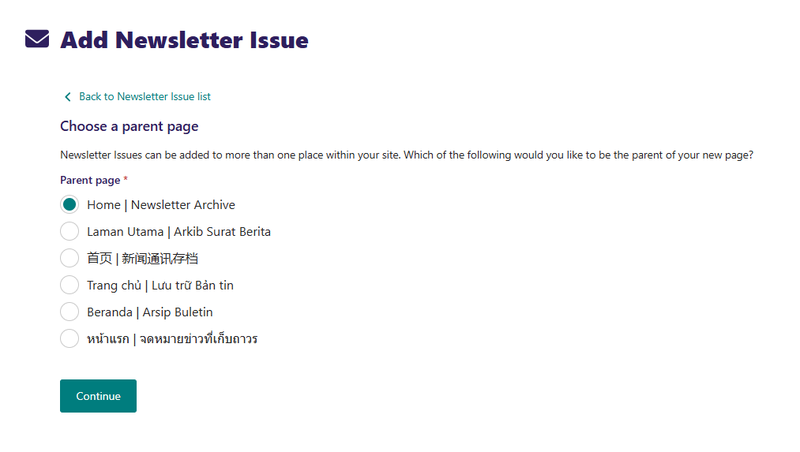
Make sure you check the 'Home | Newsletter Archive' option as newsletters must be created under the newsletter index page.
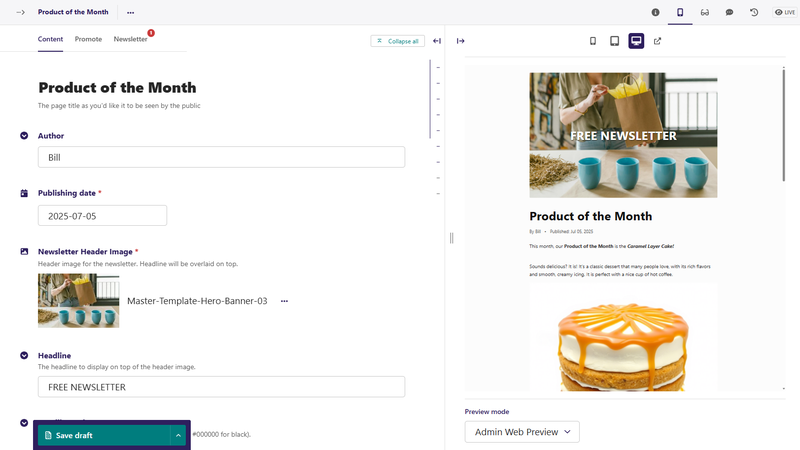
On the Content tab, create your newsletter just like any other content page, and apply the standard SEO via the Promote tab. The Newsletter tab is where the key settings are; you can select the appropriate Recipients record from your Recipients List to use as recipients for the campaign.
Campaigns are sent from regular pages and content that you create for the Web is the same content that will be sent in newsletter emails, albeit with different formatting.
To help you make sure the content is right for emails, use the editor preview, and change Preview mode to Email Preview. It will show a preview of what the email will look like in recipients’ inboxes.
Send test email
Once you are happy with the content, it’s a good idea to send yourself a test email. Go over to the Newsletter tab in the editor and click Send test email. This will save a page revision, upload the content to Mailchimp (and create a new campaign if it hasn’t been created already), then trigger a test email from Mailchimp’s system.
Send campaign
When you’re ready to unleash the campaign upon your audience, click Send campaign in the Newsletter editor tab. This will save a page revision, upload the content to Mailchimp, and trigger campaign sending.
Schedule campaign
If you’d like to send the campaign later, at a time when the emails are more likely to be opened, you can click on Schedule campaign in the Newsletter tab. When using the Mailchimp backend, make sure to select a time that is a multiple of 15 minutes.
After a campaign is scheduled, and before it’s time to send it, you can still abort: click on the Unschedule button and the campaign will revert to a draft.
Save campaign without sending
If you want to simply upload the content to Mailchimp (without sending a test email or triggering the campaign sending), maybe to make tweaks to the campaign in the provider’s app, or use advanced features like scheduled sending, then click on Save campaign to {provider}. This will save a page revision, and upload the campaign, but take no further action.
Keep in mind that any changes you make to the campaign will be overwritten if you send a test email, or trigger campaign sending.
Campaign Report
You can view the Open rate, Click rate, Bounce rate, and Unsubscribe rate for each campaign by logging into your Mailchimp account.
Newsletter Archive
If you have created a Newsletter Archive page and configured it accordingly, then all newsletters you published will be listed on the page, which can be made available as web versions for your site visitors.